[Updated this post on April 04, 2019, to make sure this tutorial is compatible with OpenCV 4.x and TensorFlow 2.0]
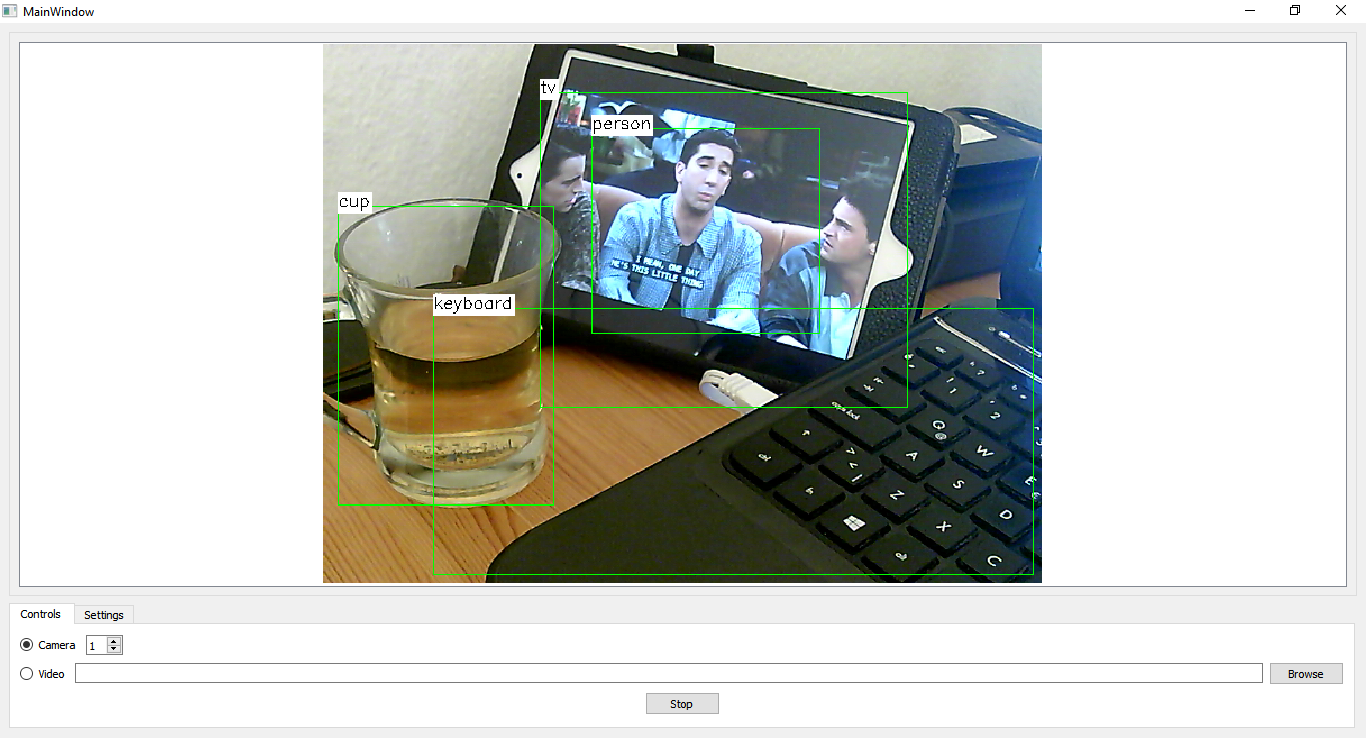
In this post we’re going to learn how to create an image classifier application with a proper GUI that allows the users to choose a camera or a video file as the input and classify the incoming images (video or camera frames) in real time. We’ll be using the power of Qt for cross-platform GUI creation and anything related to visualizing the output and allowing a seamless experience for the user. We’ll also be using TensorFlow and OpenCV to handle the actual classification task, along with accessing cameras and video files.
With the more recent versions of OpenCV, a new module was introduced for handling Deep Learning problems, which is getting better and better by each release. This module is called “dnn” and I recommend getting the latest version of OpenCV (3.4.1 at the time of writing this article) to make sure you face no issues at all (or less issues if any). Using this new module, we can load and use deep learning models from popular 3rd party libraries such as TensorFlow, Caffe, DarkNet and so on. In our example project we’ll use pre-trained TensorFlow models, namely ssd_mobilenet_v1_coco, however, you can easily use other models too if you get a firm grasp on all of the information provided here.
Continue reading “How to Create an Image Classifier Using Qt, OpenCV and TensorFlow”


