In this post I’ll describe how you can use Picture Stamper application on Windows and macOS to easily and quickly convert a batch of images to either PNG, JPG or TIF formats and optionally resize them at the same time.
Originally, Picture Stamper was created to help photographers, bloggers or anyone who needed some sort of hard stamping or watermarking of their photos, but it can also be used to batch convert images to the formats mentioned above or batch resize them as well, without watermarking or stamping or in any way tampering with the original contents of the image. So without further ado, let’s start.
The first and the most obvious step is downloading and installing Picture Stamper from the official web page here. At the time of writing this article version 2.8.0 is available which can be downloaded for both Windows and macOS operating systems.
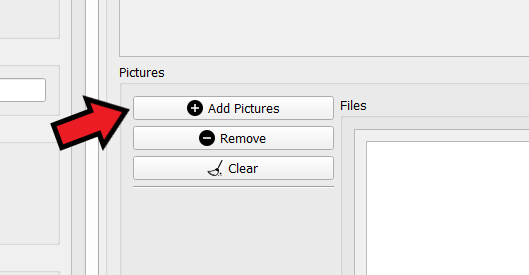
The next step, is to run and start adding your pictures. To do this, you can use the “Add Pictures” button seen in the picture below or drag and drop your pictures over to the Picture Stamper application.
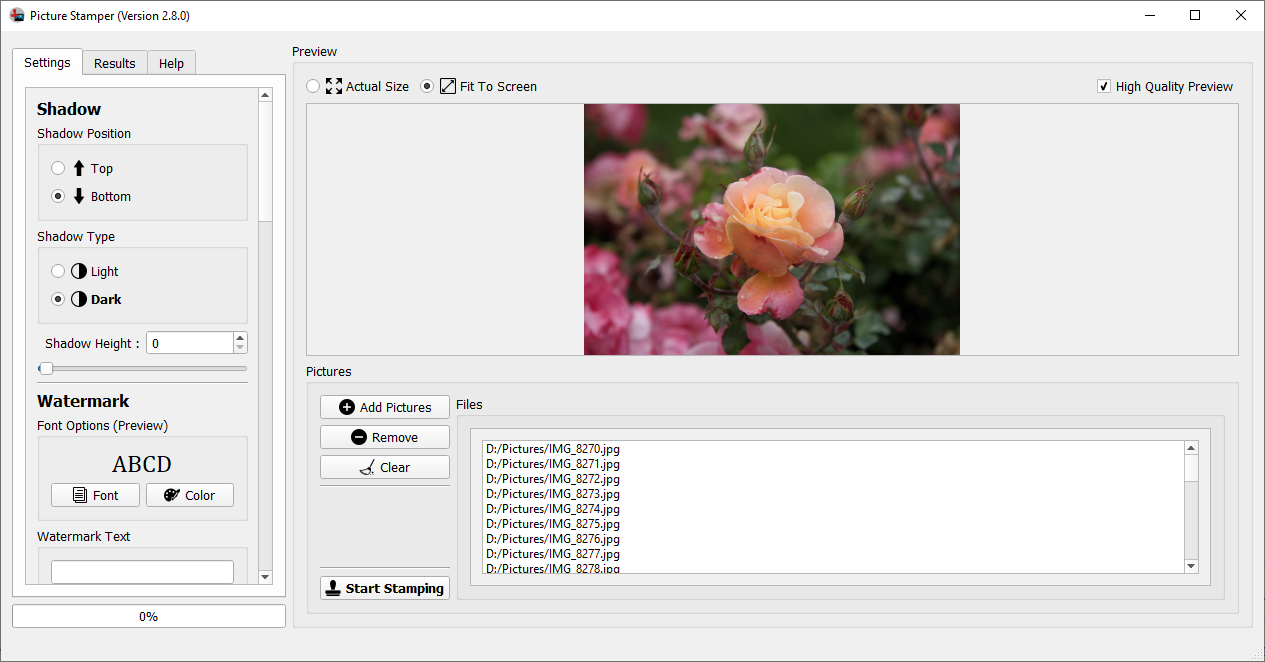
You’ll end up with Picture Stamper in the following state displaying the list of the pictures you’ve added, plus a preview of the selected images.

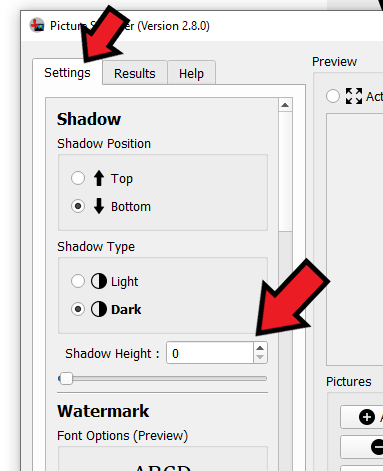
Now you need to make sure Picture Stamper doesn’t add any Shadows and Watermarks to your images, since we just want to convert the format of our images and/or resize them. Start by setting the Shadow Height to zero, as seen below:
You also need to make sure Watermark Text field is empty, as seen here:

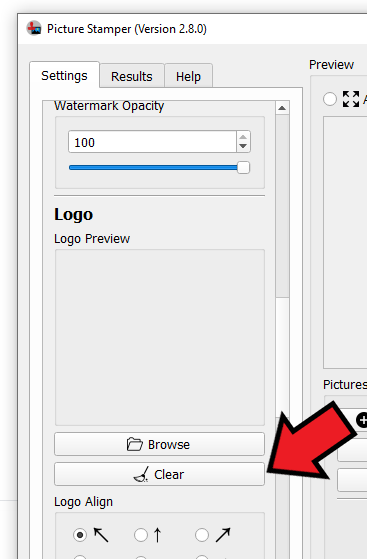
Next, check if there’s any Logo configured. Press the Clear button to make sure no Logo is put on your images. Check the image below to see how:
Finally, you need to set the right Resize and Output Format parameters and press Start Stamping button as seen here:
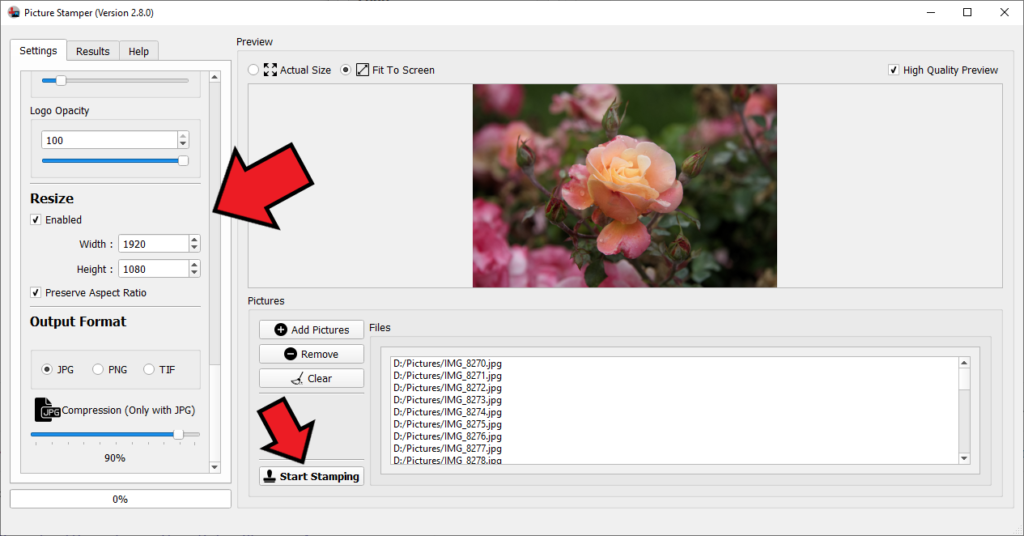
If you want to resize your images, make sure Enable checkbox under Resize group is checked. Enter the Width and Height values that you want your images to be resized to. If you want to preserve the original aspect ratio of images you need to set the related checkbox accordingly. The last thing you need to set is the output format. When the format is set to JPG, you can adjust the compression rate using the Compression slider.
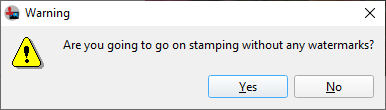
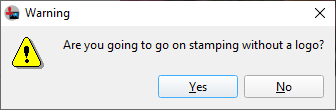
After pressing the Start Stamping button you must choose the output folder for your images. Note that converted and/or resized images are going to be stored in the folder you set at this step. Before the conversion starts you’ll be asked with the following question that you need to answer Yes for both:
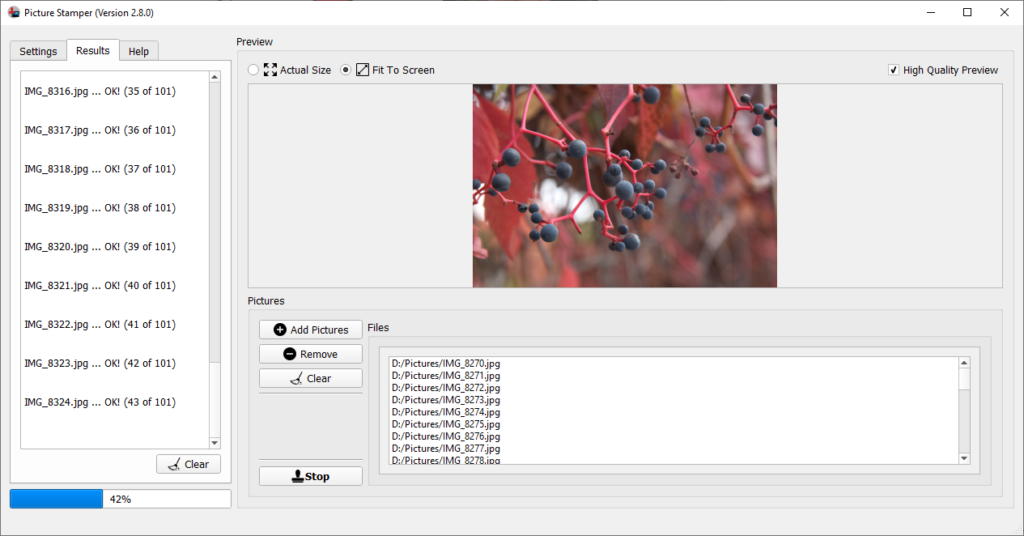
The conversion will start and you’ll see a log of the progress as seen below. You can use the Stop button to stop the process of conversion/resize at any time.
That’s it, you can find your pictures in the output folder you chose. Have fun and post your questions below if there are any.