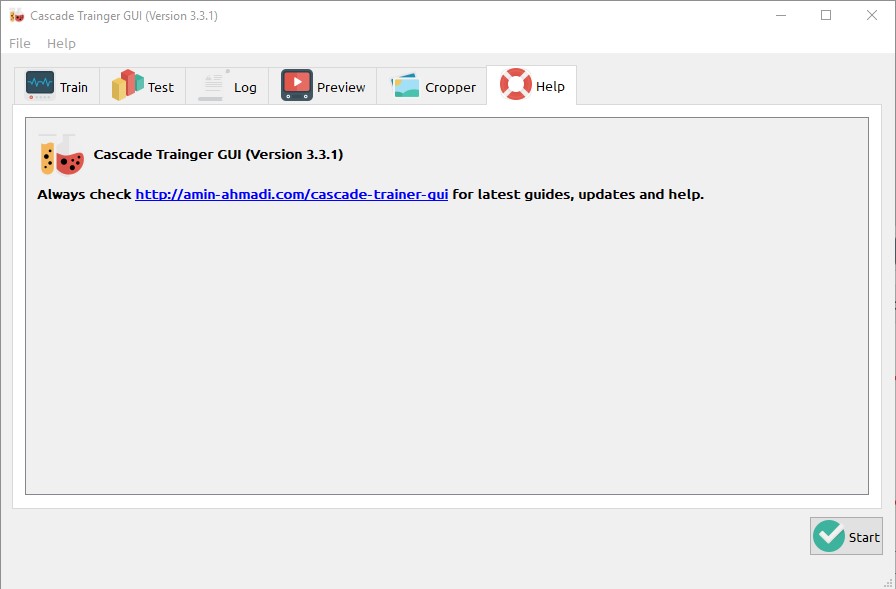
After receiving almost the same questions about Cascade Trainer GUI application all over again from many different users, I realized that it will be much more useful for anyone with a similar question, and much more efficient for me to actually compile a list of frequently asked questions, all the known issues and error and warning messages and try to answer them all in one place. Here is the result.
Continue reading “Cascade Classifier Training – FAQ, Known Issues and Workarounds”Download Prebuilt OpenCV Libraries for MinGW
This is something that is very commonly searched but not easily found. So, as a reference for myself and anyone who might need it, I have shared the prebuilt OpenCV libraries for MinGW in this post, namely OpenCV 4.1.0 for MinGW 7.3.0 32-bit.
Note: I’ve assumed that you already know how OpenCV is built but you’re just looking for OpenCV prebuilt libraries instead of building them yourself. However, if you want to build OpenCV for MinGW by yourself, you can search my website for plenty of tutorials and information to get you started.
You might be wondering what sort of CMake parameters (or changes) I used to prepare these libraries, so to answer it very briefly, here they are:
- WITH_OPENCV_D3D11_NV = OFF
- BUILD_opencv_world = ON
- BUILD_opencv_python3 = OFF
- BUILD_opencv_python_bindings_generator = OFF
- BUILD_opencv_java_bindings_generator = OFF
You can use this link to directly download the libraries, and post your questions below in the comment box.
How to Build OpenCV 4.X for Native Android Development
For a number of different reasons, you might want/need to build OpenCV from scratch instead of using the pre-built and official libraries provided by OpenCV. Since you’ve ended up reading this post, there’s a good chance that you already know why you might need to do this, but if you don’t, you can check out my similar post from a couple of years ago for some answers on this. That post was based on OpenCV 3.3 which is considered out-of-date these days, especially with OpenCV 4 out in the market (OpenCV 4.0.1 at the time of writing this article), so I decided to write a new tutorial to address some of the differences. So without without further ado, here we go.
Continue reading “How to Build OpenCV 4.X for Native Android Development”A Simple Script to Build OpenCV 3.4.3 for Windows
Update 2019-05-25: Added notes to help with changes and possible issues caused with more recent versions of CMake.
Over the years I have written quite a few guides and tutorials that describe building OpenCV from sources for Windows, however they were mostly done using the GUI. It means you’d have to be using CMake GUI to set some parameters and then a few other actions and you’d end up building OpenCV using Visual Studio like any other VS solution. Even though it’s quite simple to build OpenCV like this, you can’t automate it and you need to perform all the required actions manually. In this post though, I’ll be sharing a few simple commands that can be put inside a batch script that will allow you to build OpenCV for any platform you like, simply by executing (or double clicking) that script!
Continue reading “A Simple Script to Build OpenCV 3.4.3 for Windows”
Adding External Libraries to Qt Projects
As simple as it sounds, most of the time it’s a hassle to add the required libraries to your Qt projects. You have to add the include path, the libraries and if you are aiming to have a cross-platform project, you need to account for Windows, macOS and Linux operating systems separately. Well, there are a couple a methods to simplify this a bit which I’ll describe in this tutorial.
Continue reading “Adding External Libraries to Qt Projects”
How to Convert Videos Using Qt and FFmpeg
In this post I’m going to describe how you can use FFmpeg library to convert videos in your Qt applications, or even write a Video Conversion program that uses FFmpeg as its underlying powerful conversion engine.
Unfortunately you can’t use Qt Framework out-of-the-box to convert video files and formats to each other (at least that is the case until the time this post was published, or in other words until Qt5.10.1). One of the most practical workarounds for this missing capability is using 3rd party video conversion libraries and tools such as FFmpeg.
Continue reading “How to Convert Videos Using Qt and FFmpeg”How to Make a Qt Widget Transparent to Mouse Events
Before I come up with the current title of this post, I thought of many other titles including:
- How to send mouse clicks and events to a Qt widget behind another widget
- How to make a Qt widget ignore mouse events
- and so on …
Although the answer was very straightforward and easy, I struggled a lot with it since I wasn’t asking the right question.
Continue reading “How to Make a Qt Widget Transparent to Mouse Events”
How to Read, Process and Display Videos Using Qt and OpenCV
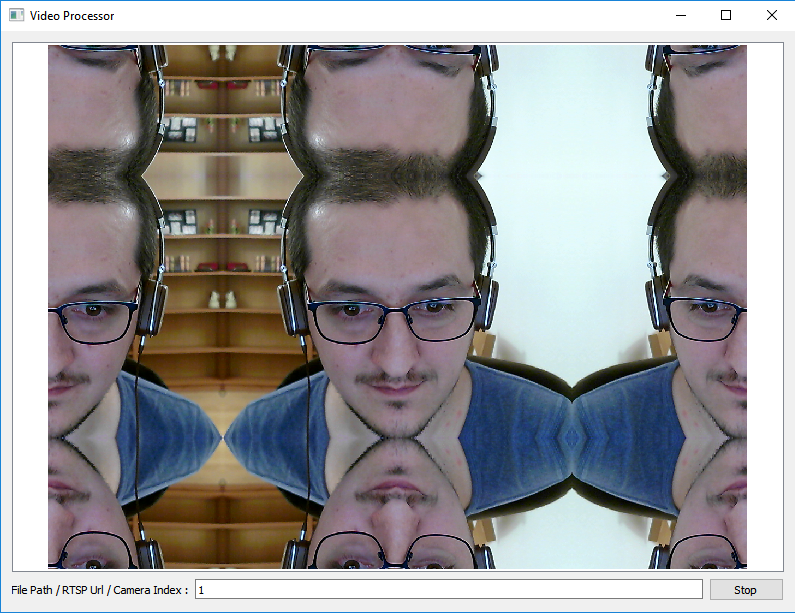
In this post I will describe the process of of reading, performing any arbitrary image processing algorithm and displaying an image read from a video file, camera or RTSP feed using OpenCV , and the same time keeping the user interface (created using Qt) responsive.
Continue reading “How to Read, Process and Display Videos Using Qt and OpenCV”Adding Required Includes and Libs for OpenCV 3.4.1 in qmake Projects
Here is what you need to add to your Qt qmake projects to be able to add and use OpenCV 3.4.1 default set of libraries. I usually add them into a separate *.pri file and include that in my *.pro files to avoid repetition, but that’s up to you. Well, here it is:
Continue reading “Adding Required Includes and Libs for OpenCV 3.4.1 in qmake Projects”How to Create an Image Classifier Using Qt, OpenCV and TensorFlow
[Updated this post on April 04, 2019, to make sure this tutorial is compatible with OpenCV 4.x and TensorFlow 2.0]
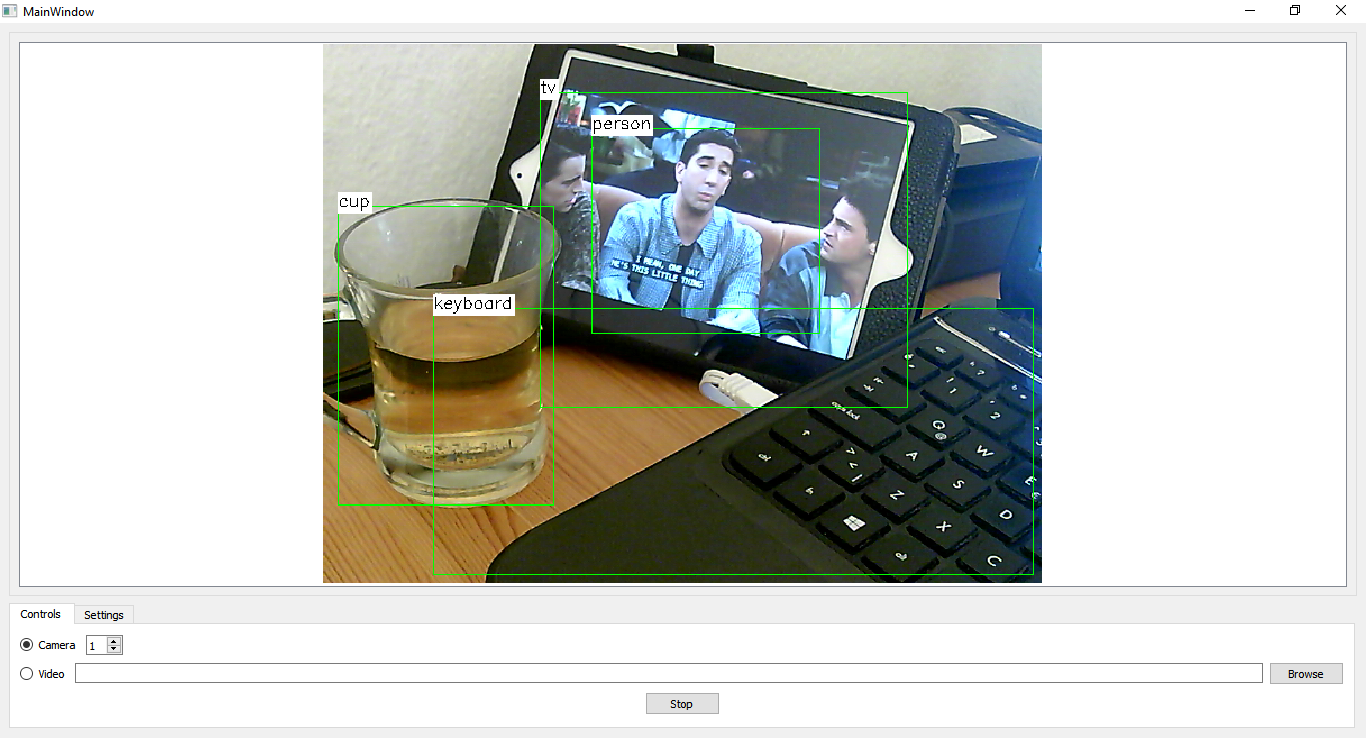
In this post we’re going to learn how to create an image classifier application with a proper GUI that allows the users to choose a camera or a video file as the input and classify the incoming images (video or camera frames) in real time. We’ll be using the power of Qt for cross-platform GUI creation and anything related to visualizing the output and allowing a seamless experience for the user. We’ll also be using TensorFlow and OpenCV to handle the actual classification task, along with accessing cameras and video files.
With the more recent versions of OpenCV, a new module was introduced for handling Deep Learning problems, which is getting better and better by each release. This module is called “dnn” and I recommend getting the latest version of OpenCV (3.4.1 at the time of writing this article) to make sure you face no issues at all (or less issues if any). Using this new module, we can load and use deep learning models from popular 3rd party libraries such as TensorFlow, Caffe, DarkNet and so on. In our example project we’ll use pre-trained TensorFlow models, namely ssd_mobilenet_v1_coco, however, you can easily use other models too if you get a firm grasp on all of the information provided here.


